Setting up your own private, encrypted VPN used to be a daunting task reserved for seasoned network administrators: editing complex config files, managing public/private cryptographic key pairs, routing tables, and debugging stubborn firewall rules.
With WireGuard and the popular wg-easy project, that era is over. Even better: with the open-source script wg-easy-billfoo-autoinstaller, you can fully automate the deployment of your WireGuard server and web admin panel with just a few simple commands.
In this step-by-step guide, you’ll learn how the autoinstaller works, what server requirements you need, and how to get your private VPN running in under 5 minutes.
What is wg-easy and Why Use the Autoinstaller?
WireGuard is currently the gold standard for secure VPN tunnels. Compared to legacy protocols like OpenVPN or IPsec, it is substantially faster, lighter on CPU resources, and features a minimal codebase that reduces potential security vulnerabilities.
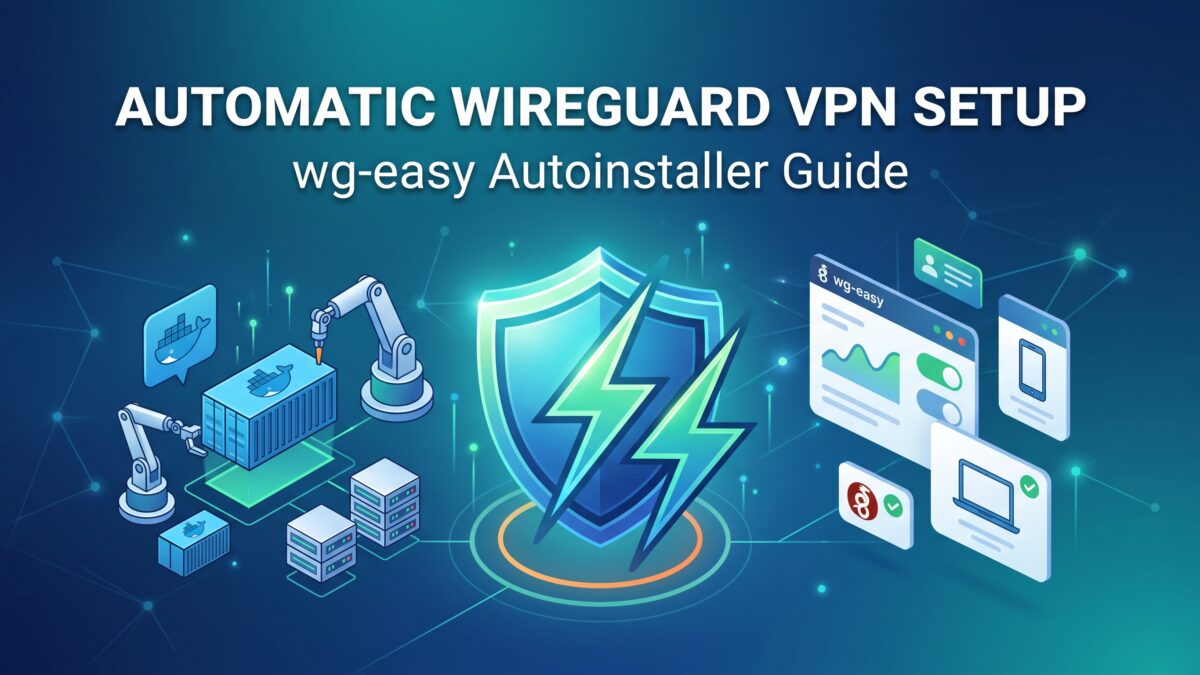
wg-easy packages WireGuard inside a lightweight Docker container and equips it with an intuitive Web UI, allowing you to:
- Create and remove client VPN profiles with a single click.
- Connect mobile devices (iOS & Android) instantly via generated QR codes.
- Download pre-configured
.conffiles for desktop clients (Windows, macOS, Linux). - Monitor active connections and real-time network traffic (upload/download).
Why use the billfoo autoinstaller?
Manual setup usually requires installing Docker, Docker Compose, setting up directory volumes, hashing admin passwords using Bcrypt, and writing configuration files. The wg-easy-billfoo-autoinstaller handles all of this automatically, prompting you only for essential parameters.
Server Requirements
Before getting started, make sure you have:
- A Linux VPS / Cloud Server (e.g., from Hetzner, DigitalOcean, Linode, or AWS) with root or
sudoprivileges. - Supported OS: Ubuntu (20.04 / 22.04 / 24.04 LTS) or Debian (11 / 12).
- A public IPv4 address (or a dynamic DNS domain pointing to your server, e.g., DuckDNS or Cloudflare).
- Required Open Ports:
51820/UDP– WireGuard VPN traffic51821/TCP– Web Admin Dashboard
Step-by-Step Installation
Step 1: Update Your System
Connect to your server via SSH and make sure all existing packages are up-to-date:
sudo apt update && sudo apt upgrade -yStep 2: Clone and Run the Autoinstaller
Clone the repository from GitHub, make the installation script executable, and launch the installer:
git clone https://github.com/billfoo/wg-easy-billfoo-autoinstaller.git
cd wg-easy-billfoo-autoinstaller
chmod +x *.sh
sudo ./install.sh
Step 3: Answer the Interactive Prompts
The script will guide you through a few quick configuration questions:
- Public Hostname / IP: Enter your server’s public IP address or your domain name (e.g.,
vpn.yourdomain.com). - Admin Password: Choose a strong password for logging into the web dashboard.
- Ports: Press
Enterto accept default ports (51820for VPN and51821for Web UI) or customize them if needed.
Once submitted, the script takes care of the rest: installing Docker (if missing), configuring the container, and starting WireGuard in the background.
Accessing the Web UI & Connecting Clients
Open your favorite web browser and navigate to:
http://YOUR_SERVER_IP:51821
Log in using the admin password you defined during installation.
Adding a New Client
- Click the “+ New Client” button at the top right.
- Enter a name (e.g., iPhone, Home-PC, or Work-Laptop).
- Click “Create”.
Connecting Your Devices
- Smartphones (iOS & Android): Install the official WireGuard app from the App Store or Google Play. Tap the + icon, select “Create from QR code”, and scan the QR code displayed in the wg-easy dashboard.
- Desktop (Windows & macOS): Click the download icon next to your client in the dashboard to grab the
.conffile. Open your WireGuard desktop client and import the file.
Activate the tunnel, and your entire internet traffic will be securely routed through your own server!
Security Recommendations & Best Practices
- Configure a Firewall (UFW): Ensure only necessary traffic can reach your server:
- Put the Web UI Behind a Reverse Proxy (HTTPS): Running the web interface over raw HTTP sends credentials in plain text. Use a reverse proxy like Nginx, Caddy, or Traefik with a free Let’s Encrypt SSL certificate to secure port
51821with HTTPS. - Regular Backups: Client configurations and keys are stored in a Docker volume (typically under
~/.wg-easyor/etc/wireguard). Keep periodic backups of this directory.
Frequently Asked Questions (FAQ)
Can I integrate Pi-hole or AdGuard Home for ad blocking?
Yes! In the wg-easy configuration (or environment variables), specify your Pi-hole or AdGuard Home IP as WG_DEFAULT_DNS. All connected VPN devices will automatically filter ads, trackers, and malicious domains on the go.
Does wg-easy work behind DS-Lite or CGNAT (Home ISP)?
WireGuard requires an addressable public endpoint. If your home network doesn’t have a dedicated public IPv4 address, running it on an affordable cloud VPS ($3–$5/month) is the most reliable solution.
How do I update wg-easy to the latest version?
Because wg-easy runs as a Docker container, updating is straightforward:
cd ~/wg-easy-billfoo-autoinstaller   # or your docker-compose directory
docker compose pull
docker compose up -d
Final Thoughts
Taking back control of your privacy doesn’t have to mean spending hours configuring complex network daemons. With wg-easy-billfoo-autoinstaller, deploying a blazing-fast, modern WireGuard server with an easy-to-use Web UI takes just a couple of minutes.
Have you tried the autoinstaller or need help setting up WireGuard? Leave your questions and feedback in the comments below!